

 I decided to play a little with some non-traditional heart colors and it took me about 5 minutes to make this card. Yes, it was that fast and easy!
I used the new Lots of Heart Stamp Set and Many Heart Dies that is in the new January-June 2021 Mini Catalog. This stamp set didn’t jump out at me at first, but I’m so glad I did lots of looking in the catalog. And I kept coming back to look at these:
I decided to play a little with some non-traditional heart colors and it took me about 5 minutes to make this card. Yes, it was that fast and easy!
I used the new Lots of Heart Stamp Set and Many Heart Dies that is in the new January-June 2021 Mini Catalog. This stamp set didn’t jump out at me at first, but I’m so glad I did lots of looking in the catalog. And I kept coming back to look at these:


 I love the detailed stitching next to the scalloped border. I also used one other new product—-and that was a Blending Brush. These brushes come 3 to a package. The “bristles are soooo soft. I used the Blending Brush to add a little color to the background on the front of the card.
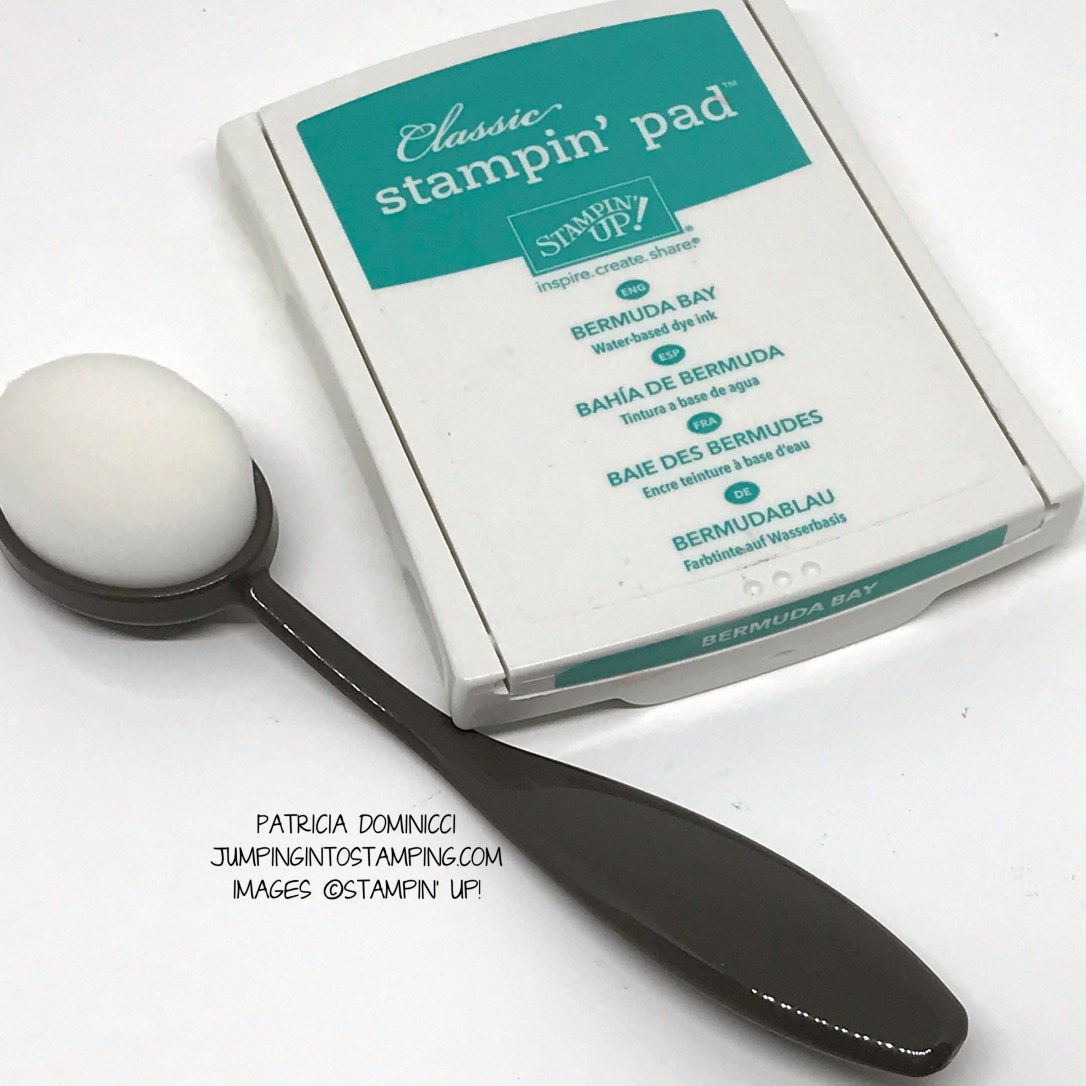 I’m sure there is a technique for using them, but I just rubbed the brush on my ink pad and then using a very light touch used a circular motion to apply the ink to the card. The result is nice soft look of color. And the clean up is super easy too. Just run it under water and let dry. The Blending Brush might stain depending on the color in you use but that’s ok, it’s perfectly normal. Once the brush is cleaned, the color won’t come off when you use it again for another project. I would recommend using one for each color group (blues, greens, reds, etc).
 If you would like to make this card, these are the supplies that you will need:
- Lots of Heart Bundle (Lots of Heart Stamp Set and Many Hearts Dies)
- Basic White Thick Cardstock – Cut 5 1/2”x 8 1/2”; Score and fold at 4 1/4”
- Bermuda Bay Cardstock – Cut 5 1/4” x 4”. I die cut the scalloped heart from the middle elf this piece)
- Basic White Cardstock – Cut 5 1/8” x 3 7/8”
- Bermuda Bay Ink
- Blending Brush
- Basic Rhinestone Gems (optional)
- Bermuda Bay Stampin’ Blend (optional) (to color the Rhinestones)
- Adhesive: Stampin’ Seal, Dimensionals
- Tools: Paper Trimmer, Stampin Cut & Emboss Machine
 I hope you’ll give this a try!
Happy Stamping!
Patricia
I hope you’ll give this a try!
Happy Stamping!
Patricia
 ITS SALE-a-bration TIME!
Not familiar with Sale-a-bration? It’s one of the best times of the year because with each $50 product purchase (not including tax/shipping) you can earn one “Free with $50 purchase item”! For a $100 product purchase you earn two “Free with $50 purchase items (or one “Free with $100” purchase item). The best part? There is no limit to the number of free items you can receive! The Sale-A-Bration catalog is only good through February 28th. These products are not available for purchase and once the sale period is over, these products are retired.
You can view the SALE-a-bration catalog here: SALE-a-bration Catalog Jan-Feb 2021
READY TO JOIN STAMPIN’ UP!?
Is Your Wish List from the January -June 2021 Mini Catalog a mile long? Want to get more for your money? Have you ever thought about joining Stampin’ Up? Now is the best time as Stampin’ Up! has a special SALE-a-bration joining offer! For only $99, you get the following:
- $125 worth of Stampin’ Up Products for only $99! ($26 of FREE product!)
- FREE – 5 packages of 6″ x 6″ Designer Series Paper
- Subtles, Neutrals, Brights, Regals and 2020-2021 In-Colors! ($57.50 Value)
- FREE Shipping ($12.50 Value)
- FREE Paper Pumpkin Kit ($22 Value)
- 20% Discount on all your product purchases! (Value? Priceless!)
NEED SUPPLIES TO MAKE TODAY’S PROJECT (or any other crafting project) please click HERE and you’ll be taken to my online Stampin’ Up! Site where you can look at all the products online and purchase what you need. If you do not already have a demonstrator, I would be honored to be yours! If your order is less than $150, please use my JANUARY HOST CODE: KEEBJDNP and choose me (Patricia Dominicci) as your Demonstrator when prompted. If you need help placing an order, please leave a comment below and I will be happy to assist you!
 If you place an order of $50 or more and use my Host Code I will send you a small gift as a thank you from me! If your order is $150 or more, please do NOT use the Host Code as you will receive Stampin’ Rewards of your own. Rewards start at $15 worth of free products of your choice. Don’t forget to choose me as your demonstrator during check-out so you can receive your gift from me!
These are the products I used on today’s card. Click on the product and you will be taken to my Stampin’ Up Online store where you can purchase the product or get more information.
")
|

|
||

|
|||

|

|

|
|

|

|


Love what you have done!!!! This was in my wish list….now an order!
I hope you love it as much as I do!
Love the colors! But every other stamper is saying “don’t” get the blending brushes wet. Which is it ? Don’t want to ruin mine
When I am using the blending brush, it is dry. I rub it in a circular motion on the ink pad to get some ink on it and then using a very light touch use the same circular motion to apply it to the paper. When I am all done, I rinse the brush under running water, dab it dry with a paper towel and then just let it air dry. For most colors, just about all the ink comes off the brush. The some colors like red might stain just like they stain the photopolymer stamps, but it won’t come off is you rub it on paper. I’ve been using mine like that since I’ve gotten them with no problems. I think there are some people who don’t clean them at all, but use the same brush for a particular group of colors —-red, blues, yellows, greens, etc. I like to clean mine and I have not had a problem.